 |
| Stained glass grasshopper |
So we are in the middle of a Bug themed 4-H year and we are looking for projects that we can do in the winter. It doesn't take much searching time to know there are lots of awesome ideas out there that the kids would love to do. The problem is they either require you to work outdoors or take multiple days to finish. Our club only meets once a month and we have lots of members under the age of 10 so they do not want to be waiting months to make one project. Oh yeah and it will be cold in February when we have our next meeting so we needed a one day indoor project and something we haven't done already. There was a challenge worth searching for. After polling the members as to what they wanted to do and much searching on the internet I came up with a Stained Glass Bug sun catcher.
Now I know what your thinking and yes I just said we have kids under the age of 10 that we are going to try to teach this to but we also have lots of great helpers at our meetings so they should be okay to do the project as well.
Now the fun part teaching myself first. We wont see the results from the 4-H members for a few weeks but I did find my learning experience fun so now I will share it with all of you.

Now if you are looking at the pictures you are right I did not mention all the supplies needed so if you are thinking of giving stained glass a try here is what you are going to need:
Stained glass, Copper Foil Tape, Solder, Soldering Gun, Glass Cutter, Clamps, Scissors, and I recommend basic safety items like glasses and a mask (it smokes a bit).
 |
| First ever stained glass project |
And here it is my first masterpiece.......Omg it was so awful and yes I kept it as its a great learning experience. As you can tell by the grasshopper I have gotten much better with my soldering ability and honestly I can not wait to try to make even more. This might be a new favorite hobby....till spring hits and I can go out side anyway.
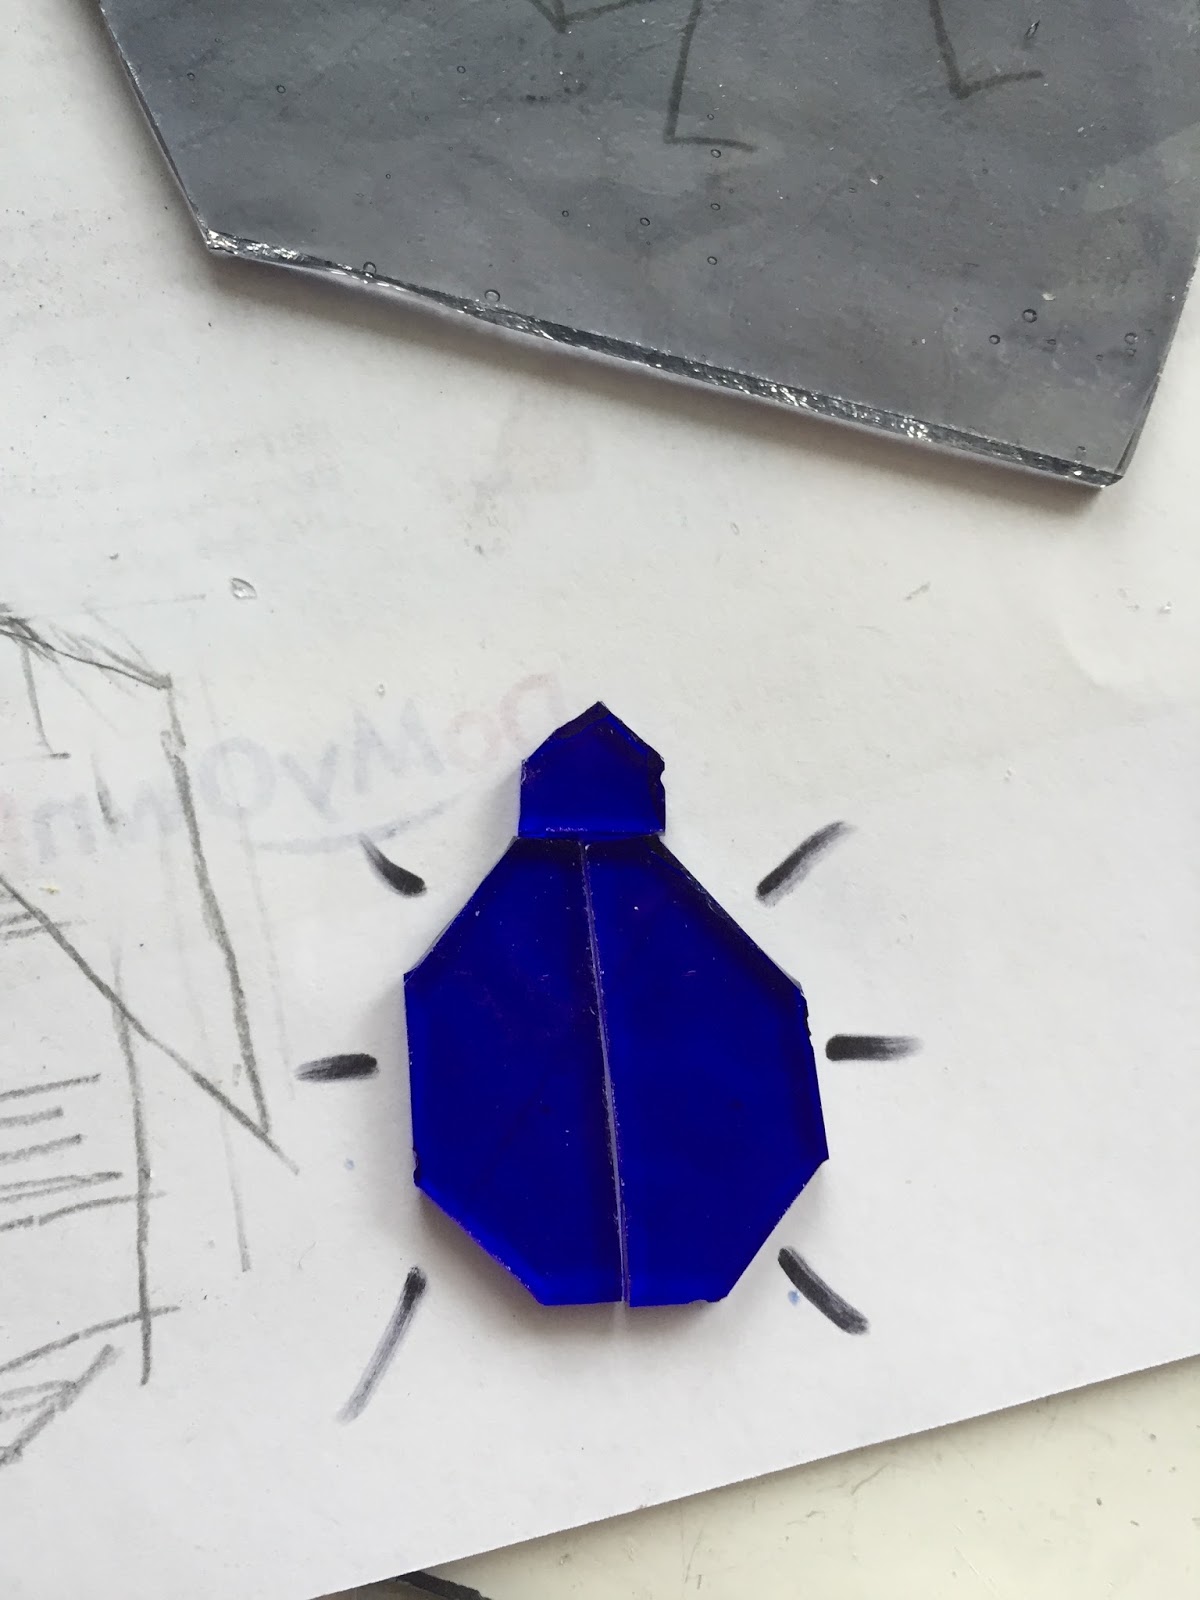
First thing you have to do is figure out what shape you want and then cut the glass. If you are unsure if how to cut the glass to shape I recommend Youtube as I probably watched 10 different videos on there before I tried it myself. And yes they make it look easy but after you try it you will see it really is not that hard to do. As for my bug, I went with a betel shape as it seemed like an easy project with only 3 pieces to attach. I drew it out myself and then just cut the glass according to what I though it should look like. Guess its a betel shape right?

Next up was putting the copper foil around it. This is an important step as the solder will have to adhere to the copper to connect the pieces. I had to be sure to center the glass on the foil so that it would evenly overlap on each side. After the tape is in place it is important to smooth out the edges and corners of the foil. This can be done with a wooden or plastic surface. I used a wooded clothespin that I had taken apart.

Next step was applying the flux to the foil. The flux is needed to help the solder flow over the foil edges. It literally takes just seconds to do.

Now the soldering starts. Fist you will need to put a small bead of solder on the edges you are trying to connect. My project was small so it really only took 2 beads but larger projects will have more connecting areas and need more joints soldered.

Well it wasn't the best quality solder job but it was still much better then the first attempt I had. I did decide that I would have preferred more then 2 solder seams though as they stick out a lot compared to the thin edges. Also I should have probably done a better job smoothing out my foil edges but it will work for a first real attempt. Keep in mind you need to do each side of the foil tape and you will need to apply the flux to the other side as well. Another thing to think about is the glass will be getting hotter as you solders so turn it over with care. I used pliers to flip mine.


Next was soldering the edges (or tinning as they call it in the stained glass world). This little bug was already quite warm and holding it in my hand while hot solder was running at me was just not my thing so I got out the clamps and rigged them to support each other. The solder will only stick to the copper tape and not the plastic camps so I did not have to worry about that but the solder did drip off once and splatter however it did not get me. Just be aware that the "drips" could happen and result in a potential burn.
Also I did reapply the flux to the sides to make the solder flow quickly and due to the size of my bug it really was done in seconds.


And there you have it my first stained glass bug. I know its far from perfect but I'm still quite happy with it. I have made a few other ones since this and the grasshopper and my solder seams have improved quite a bit so maybe by the time the 4-H meeting gets here in February I will at least know what I'm trying to teach the kids. Who knows maybe they will be better at it then me?
No comments:
Post a Comment